Getting your website on the first page of the search results is a tiring and long-lasting process. Link building is a very important aspect of boosting the credibility of your website. So, while growing your website, you might write a lot of guest posts or interlink your own posts. In both cases, you’ll have links that lead back to your site. And, as time goes by, more and more links will go back to your site.
Similarly, you will also link other websites to your content. The more content, the more links. But, it’s also important that all of the links on the site are working properly, and lead to the right posts or pages.
One way to do so is to check by going around and clicking on the links manually. However, this can be a time-consuming process, not to even mention the human error factor. But what if you didn’t have to do that, what if there was a way to control all these links quickly and accurately? Well, there is!
WP Links
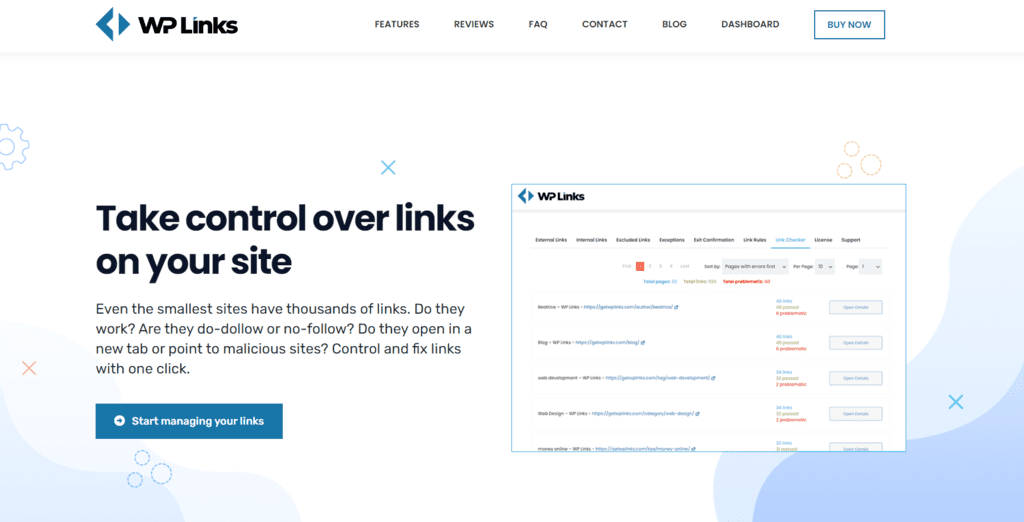
WP Links is a WordPress plugin that allows you to manage all of your links without spending hours checking them manually. Let’s dive deep into discovering how it functions and what other features this plugin might have!
How To Control Links?

Starting with the most important difference between any link you can have on your website – external and internal links. As the name suggests, external links are the links that take the user to a page on a different website. Internal links are links toward pages on the same website.
The key difference here is that internal links increase SEO for your website while using external links gives the SEO juice to the site you’re linking to. It is essential to correctly attribute, tag, style, and signal to the user which links are external and which internal.
How to manage external links?
When you open the WP Links settings in your WordPress dashboard, you will see a tab for managing external links. Here you can set general rules that you want to apply to all of the links that take users to different websites.
A great way to keep the user on your page and still refer them to another website is by opening the page you are linking to in a new tab or window. To do this, select the most suitable option from the external links dropdown under the external links tab.
You could also find yourself in a situation where you want to link to a website without passing it credibility, the so-called “link juice”. This is managed by changing your links’ tag from follow to nofollow. Simply select the tag that you want as the new default from the dropdown menu.
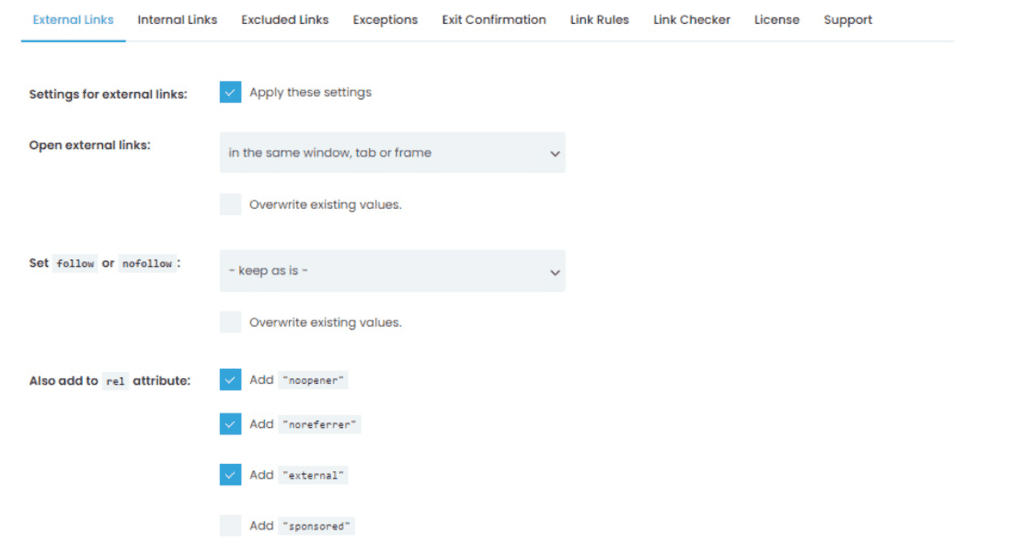
Rel attributes represent the relationship between the page where the link is and the page where the link is taking the user. If you offer sponsored articles on your website as a service, you might want to let the search engines now. With WP Links, you achieve this by selecting the proper attribute from the menu.
From this tab, you can also style your external links and even add icons. If you don’t want to make custom icons, you can always use the integrated features to use icons from Font Awesome or Dashicon, completely free!
How to manage internal links?
Switching to the internal links tab, we can see similar options as in the previous tab, but since the type of links is not the same, there are some key differences. Again you have options to open internal links in a new tab or window. You can make links open in the same tab or even in the topmost frame, but this is not recommended. Depending on whether you want to give the link juice to the page you are linking on your website, you can set follow or nofollow links.
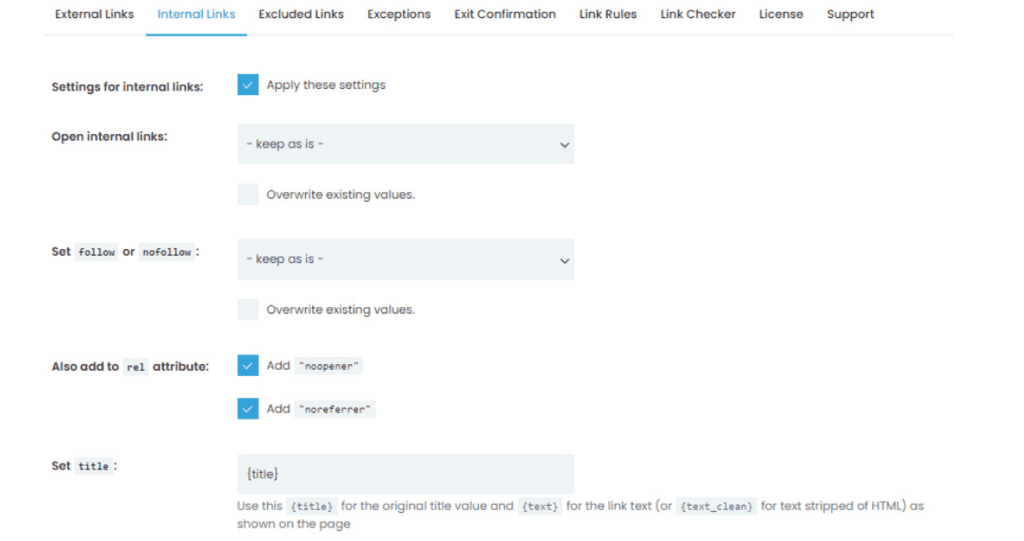
The rel attribute situation is slightly different since you obviously don’t want to tag an internal link as sponsored. Keeping noopener and noreferrer tags on is probably the best idea. If you want to change it, you can simply disable the tag by clicking on the checkbox next to it.
Title, styling, and icon features work in precisely the same way as with the external links tab. Another thing to notice is that you can override existing tags settings and how the links will be displayed by checking the option under these settings. It’s a great time saver if you want to apply settings to existing links.
Manage Exceptions Easily

Like everything in life, the rules you set for the links on your website may have exceptions. WP Links gives you the opportunity to make exceptions to which previously defined rules don’t apply. Let’s go to the exceptions tab of the settings and discover what can we do to exclude some links from settings.
The most common use case for this feature would be excluding a specific page or post. This can be achieved by inserting a post or page ID in the box labeled as Skip pages or posts (id’s). To find the ID of a specific post or page, go to the editor and see the preview of the page. Now see the link of post/page, and you will see post=number, page=number in case of page. This number is the ID that you will insert in the already mentioned box.
If you want to make an exception based on the CSS class, all you have to do is to insert the class name in the box labeled as Ignore links by class. You can add multiple IDs and class names by separating them by a comma.
WP Links makes it very easy to manipulate exceptions for specific domains. Adding the link to the Include external links by URL labeled box will make the links follow the settings made in the first two tabs. Similarly, adding the link to the exclude external links by URL option allows you to override settings and exclude certain links.
Additionally, you can choose whether you want to apply settings to links found in scripts. The same goes for mailto links, which are generated when you insert an email address in the content. This is achieved by enabling or disabling the checkbox next to Skip script and Skip mailto labels.
Exit Confirmation
Maybe you noticed that when you click on a link on some websites, you get a popup telling you that you are going to a 3rd party website. From here, you can either confirm this action or stay on the website. This is called exit confirmation, and it can be enabled and visually adjusted with the WP Links plugin.
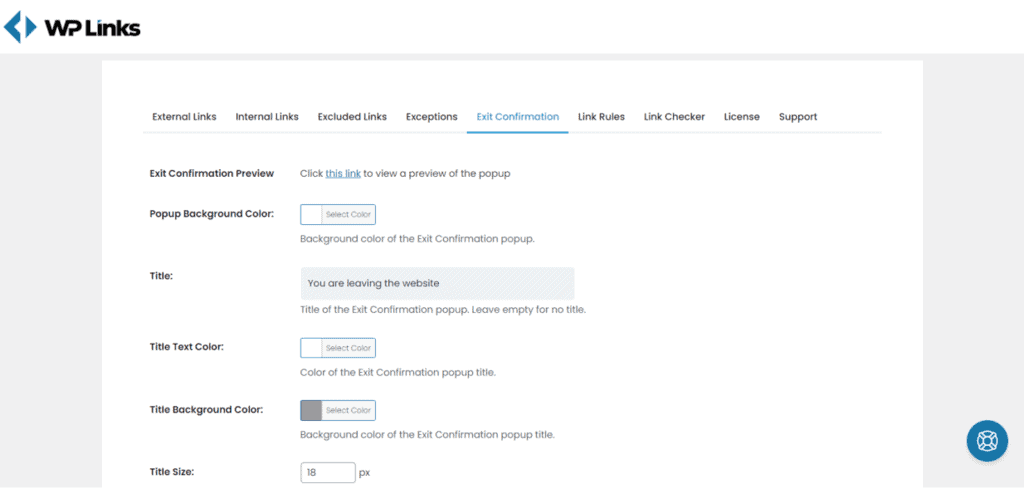
To configure this option, head to the Exit Confirmation tab of WP Links settings. It is important to style this popup to appeal to the users visually. Don’t worry – you don’t need to write any code! Everything is done with visual color selection and input of the text you want to display.
You can change the background color of the popup, title, and buttons. Text and button text colors can also be adjusted, together with the overlay color, if you wish to put popup in focus by covering the rest of the page with an overlay – this is usually done with black color.
If you wish, you can also experiment with different widths and heights of the popup, as well as title, text, and button text font size. If you don’t wish to experiment too much, you can also leave the default settings since they are optimized for standard use.
The last thing to figure out here is what text to display to the user. This is probably the most crucial aspect of the exit confirmation popup, so in case you find default text suitable, don’t think about it too much. However, if you want to use it for a particular use case, it’s good to know that all of the text can be customized.
Link Rules
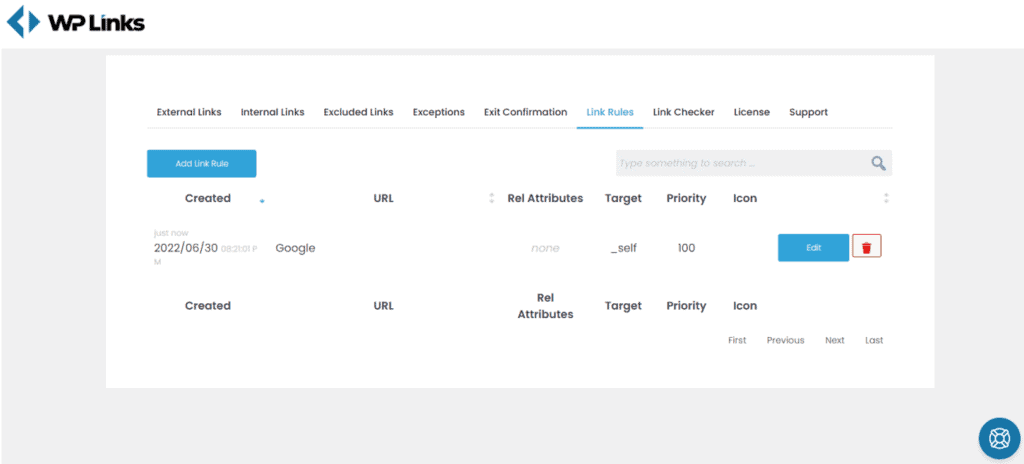
WP Links allows you to create rules that can help you manage your links in an automated and effective way. You can add keywords that will force a link to be set up in a certain way. For example, we can make all Google links have a search icon next to them.
To do so, let’s head to the Links Rules tab of the plugin’s settings. Here we can see the list of all existing rules. To add a new rule, simply click on Add Link Rule button. Adding the keyword Google in the first field will make all the links containing this keyword behave in a certain way.
If you want to set up multiple rules, you may need to give priority to certain rules. This is achieved by inserting a number in the box labeled as Priority. The default priority value is 100, and rules with higher priority will be respected first compared to those with lower priority.
We can also adjust how links are opened and what rel values links with specific keywords have. We can even add custom relationships if needed. Since we already have some rel values we set earlier, an elegant feature is a choice of setting values only from rules checkboxes or overwriting existing values. We can also set values only if rel is not set or if it doesn’t contain the value that we selected in the link rules.
Titles and CSS classes work in the same way as with external/internal links tabs. We can enable and disable such popups by checking the checkbox next to the Exit Confirmation label.
Finally, the last option is the one we want in our case – Choose icon type. Again we can upload our image or simply use one from Font Awesome or Dashicon. After this, we simply click the Add Rule button and are all set. Rules can be edited by clicking on the Edit button, and changes are saved by clicking on the Update rule button.
Link Checker
Now that we are sure that the links behave the way we want, the last thing on our checklist is to ensure that the links on our website work. In the end, if the links are not working, all of our efforts went for nothing.
Doing this manually can take anything between a few hours to a few days or even weeks, depending on the size of your website. And this doesn’t guarantee that new broken links will not appear in the future!
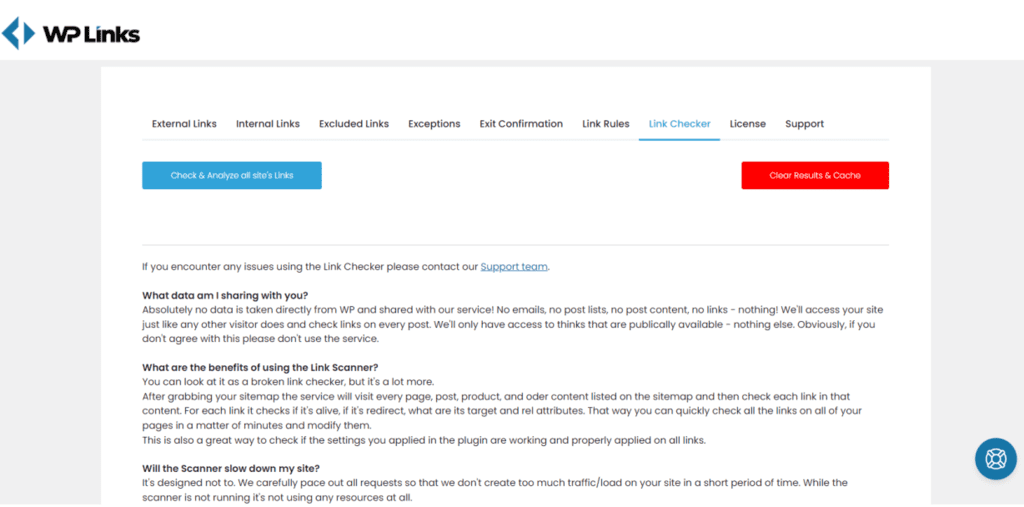
Luckily for you, WP Links has an integrated link checker feature. Simply head to the Link Checker tab and hit Check & Analyze all site’s Links button to get the list of all the links that are behaving problematically.
The result will be a report that will give you detailed information on the problem with the link. Maybe they are taking users to an error page or a malicious website. Other links that you maybe want to remove or edit are the ones that redirect from the original web location.
Final Thoughts
WP Links is a great plugin to have on your WordPress website, no matter the size, niche, and type of the website. It offers you a variety of features, and it’s one of a kind all in one solution for anything you want to do with links.
Warn users when they are leaving your website, style and tag your links correctly, create exceptions and rules for certain groups of links, keep an eye on broken links and fix them timely.
If you have any difficulties, make sure you reach out to the WP Links support team, which will be more than happy to assist you in creating the best link system for your website!