Are you running a restaurant or café? Want to design an eye-catching menu that brings customers in and keeps them coming back? You’re in the right place! Canva, a free and easy-to-use design tool, makes creating beautiful menus simple — even if you have zero design experience.
In this guide, we’ll walk you through using the Canva Menu Creator step-by-step. It’ll be fun, fast, and by the end, your menus will look mouthwatering!
Why Your Menu Design Matters
A menu is more than just a list of food.
- It reflects your brand.
- It can boost sales by highlighting your best dishes.
- It helps customers have a smoother dining experience.
First impressions count! A neat and well-designed menu shows customers that you care about quality — from your food to your service.
What is Canva?
Canva is an online design platform. It’s drag-and-drop, so no graphic design skills are needed. Best of all, it’s free to use (though Pro features are available too). With Canva, you can create everything from logos to flyers. And yes — beautiful restaurant menus too!
Step 1: Sign Up and Get Started
Go to canva.com.
- Click “Sign Up” and create an account (or log in if you already have one).
- Type “Menu” in the search bar at the top of the homepage.
- You’ll see hundreds of templates. Pick one you like!
Don’t worry — you’ll be able to customize everything later.
Step 2: Choose a Template That Matches Your Vibe
Canva has menus for every kind of restaurant and café. Here are some popular styles:
- Minimalist: Clean lines, soft colors, and plenty of white space. Perfect for upscale bistros or modern cafés.
- Rustic: Earthy tones, bold fonts, and hand-written elements. Great for bakeries, BBQ joints, or farm-to-table spots.
- Colorful & Funky: Bright colors, funky shapes, and playful fonts. Ideal for juice bars or taco trucks!
Pick a template that reflects your restaurant’s personality.
Step 3: Customize Your Menu
Now the fun begins! Click on the text boxes to edit menu items, prices, and descriptions.
You can:
- Change Fonts: Make your titles bold and big. Keep descriptions simple and easy to read.
- Switch Colors: Match your brand colors or create a theme.
- Add Sections: Is your menu split into Breakfast, Lunch, and Dinner? Create separate boxes for each.
- Use Icons or Photos: Add small illustrations or images of your top dishes.
Here’s a pro tip: Don’t overload the menu. Less is more. A few well-placed items with short, tasty descriptions do the trick!
Step 4: Add Your Branding
Your menu should scream “you” — not just “food.”
Here’s how to add branding:
- Logo: Upload your logo and place it at the top or in a corner.
- Colors: Use your brand’s color palette throughout the design.
- Fonts: Stick to two or three fonts max (main title, subheading, and body text).
Consistency is key. If your restaurant has a chill, beachy vibe — your menu should reflect that. Laid-back colors, fun fonts, and maybe even a few wave icons could bring it all together.
Step 5: Download and Print
Once you’re happy with how your menu looks, it’s time to download it. Click the “Share” button at the top right, then choose “Download.”
Select a format:
- PDF Print: Best for high-quality physical prints.
- JPEG or PNG: Great for sharing on social media.
Need to print it? You can take the PDF to a local print shop, or even order prints through Canva itself. Easy!
Want to Make a Digital Menu Too?
Many restaurants are going digital. With Canva, you can create menus optimized for phones and tablets too!
Tips for digital menus:
- Keep text large and readable.
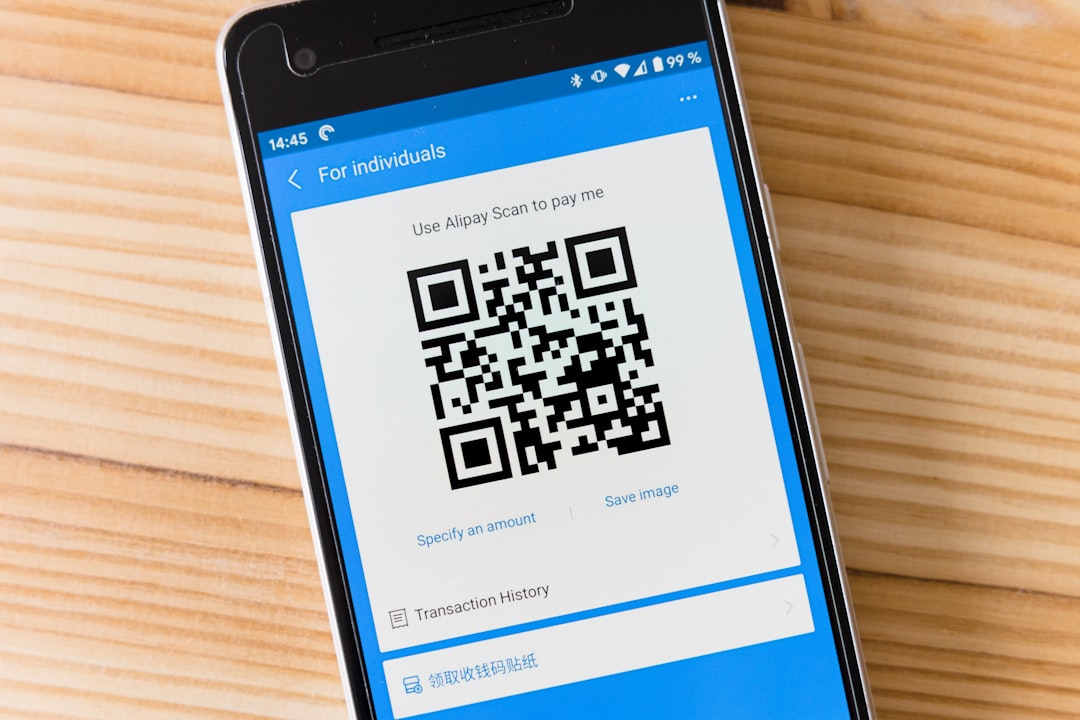
- Add clickable QR codes to link to your website or ordering system.
- Use bright images — they look great on screens.
Extras You Can Add
Take your menu to the next level with:
- Icons: Add tiny vegan, gluten-free, or spicy symbols next to menu items.
- Photos: Show off signature dishes. Just make sure the photos are high quality.
- Specials Section: Design a section for seasonal or daily specials.
And if you change your menu often? Duplicate the design and make quick edits whenever needed!
Creative Ideas to Stand Out
Want to wow your customers? Try these fun ideas:
- Kid’s Menu: Use cartoons and bright colors to make it fun.
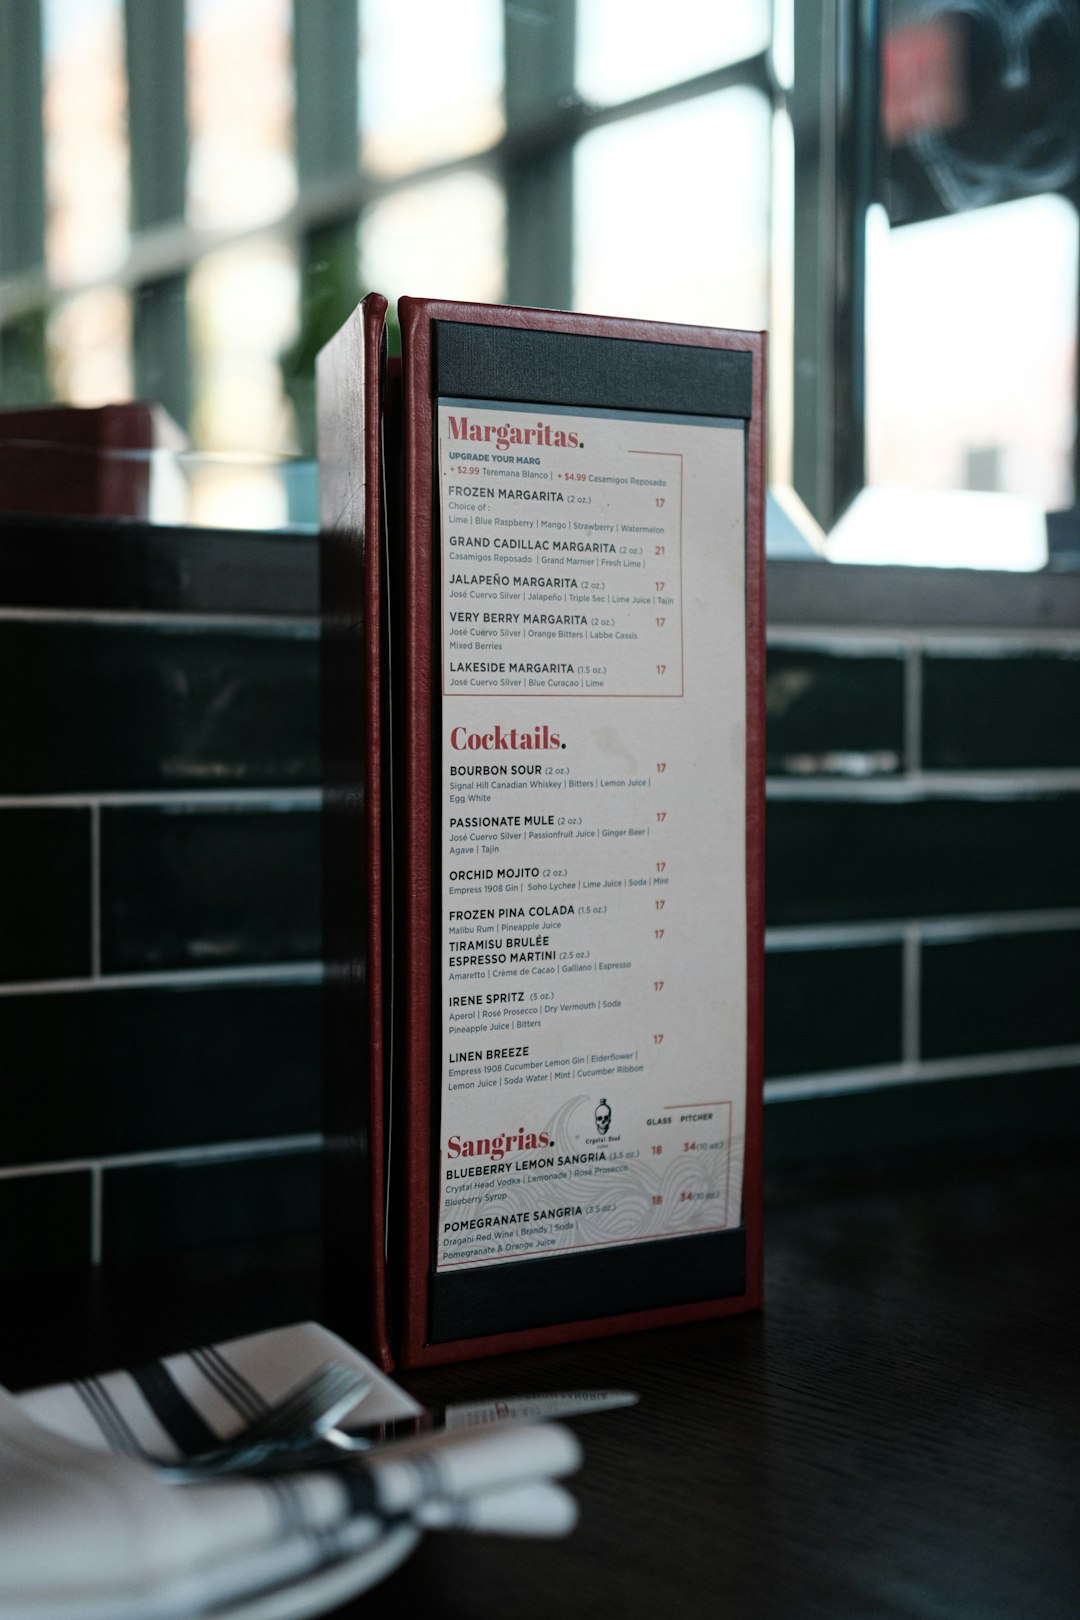
- Drinks Menu: A separate one for cocktails, mocktails, coffee, and smoothies can make ordering easier.
- Menu Mats: Make your design printable as placemats. Fun and functional!
You could even display a brief history or story about your café. People love knowing more about the places they eat.
Using Canva Pro: Is It Worth It?
The free version of Canva offers everything you need. But Canva Pro has cool extras:
- Brand Kit: Save your logo, colors, and fonts for faster designing.
- Background Remover: Perfect for cleaning up food photos.
- More Templates: Thousands of premium designs available.
If you’re updating your menus often or want more creative control, Pro could be a good investment.
Summary: Let’s Recap!
Designing a beautiful menu with Canva is simple. Remember these steps:
- Log in or create a Canva account.
- Pick a template that fits your brand.
- Customize everything — fonts, colors, menu items.
- Add your logo and brand details.
- Download, print, or share your menu online.
And the best part? You can update it anytime, without paying a designer!
Ready to Get Started?
You’ve got great food. Now make a menu to match!
Head to canva.com and start designing your dream menu today. Your customers — and your bottom line — will thank you.
Happy designing and bon appétit!