CapCut has quickly become one of the most popular video editing tools due to its intuitive design, powerful features, and accessibility for beginners and professionals alike. Whether you are editing videos for social media, personal use, or professional projects, learning how to import or drag videos into CapCut is a fundamental step.
Dragging videos into CapCut is a straightforward process, but depending on your platform (desktop or mobile), there are slight differences you’ll need to keep in mind. This article will guide you through the steps for each version while offering valuable tips to streamline your workflow.
Understanding CapCut’s Interface
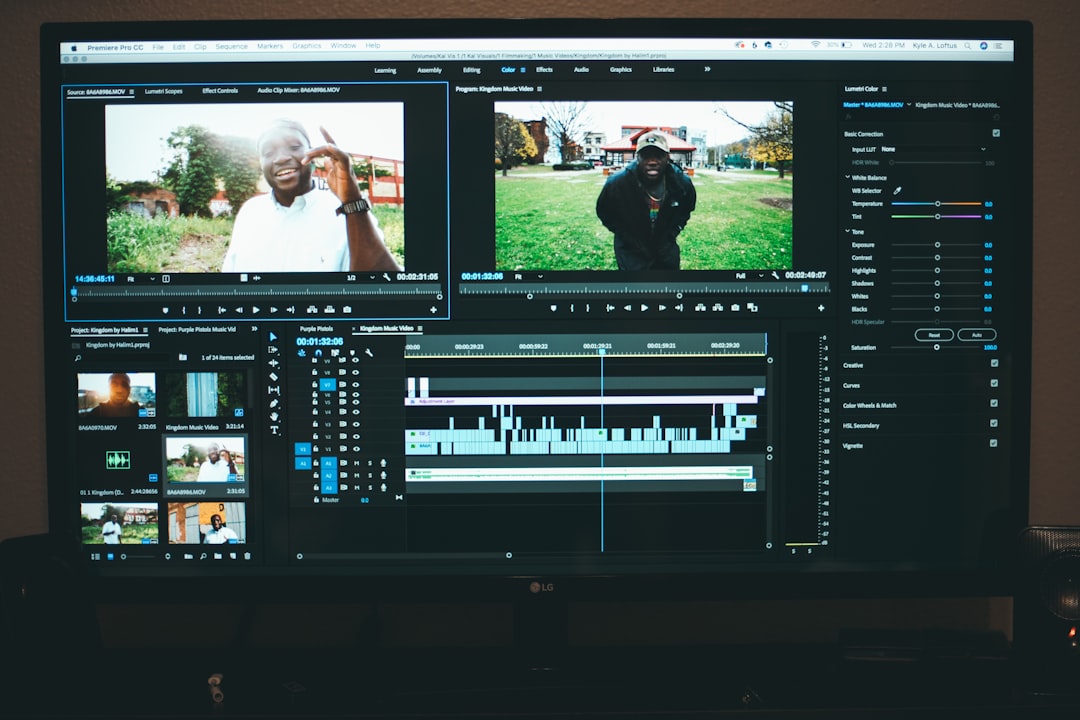
Before diving into importing your video files, it’s important to familiarize yourself with CapCut’s interface. The application is divided into several panels, primarily the media library, the preview window, and the timeline. You’ll need to drag your video files into either the media library or directly onto the timeline, depending on your preference.
CapCut is available in two main formats:
- CapCut Desktop (PC & Mac)
- CapCut Mobile (iOS & Android)
Dragging Videos into CapCut on Desktop
CapCut for desktop offers a drag-and-drop functionality that makes importing files quick and efficient. Follow these simple steps:
- Open CapCut: Launch the CapCut desktop application.
- Create a New Project: From the home screen, click on ‘New Project’ to open a blank canvas and timeline.
- Locate Your Video File: Use your file explorer (Finder for Mac or File Explorer for Windows) to locate the video you want to import.
- Drag the File Into CapCut: Click and hold the video file, then drag it over to the CapCut interface. You can drop it either in the Media Library (top left panel) or straight into the Timeline at the bottom.
- Wait for Processing: CapCut may take a few moments to process the file, especially for large videos. Once it’s uploaded, you can begin editing.

Dragging Videos into CapCut on Mobile
The mobile version of CapCut doesn’t support traditional “dragging” in the same way desktop platforms do. Instead, it allows users to select and import videos via an interactive file selector. Here’s how you can do it:
- Launch the App: Open CapCut on your smartphone.
- Start a New Project: Tap on ‘New Project’ on the landing page.
- Select Videos: A list of your recent videos and folders will appear. Tap to select the videos you want to import into your project.
- Import Files: Once you’ve selected the files, tap ‘Add’ (usually at the bottom) to bring your videos into the editing timeline automatically.
Although this process lacks physical dragging, the function is effectively the same—bringing video files into your workspace for editing.
Supported Video Formats
CapCut supports a wide range of video formats, but for best compatibility and performance, it is recommended you use the following:
- MP4 (Most preferred)
- MOV
- AVI (May require conversion tools in some cases)
Ensuring your video file is in a supported format will prevent unexpected issues during the import process.
Troubleshooting Common Issues
While dragging and importing videos is generally seamless, you may encounter occasional problems. Here are some common issues and solutions:
- Video Not Importing: Ensure the file isn’t corrupted and is in a supported format.
- Lag After Dropping Video: Large file sizes can slow performance. Try converting your video to a lower resolution or use a more optimized format.
- App Crashing: Update CapCut to the latest version, and make sure your device meets system requirements.

Benefits of Using Drag-and-Drop in CapCut
Drag-and-drop functionality enhances productivity and improves the overall editing experience. Here are some reasons why using this feature is beneficial:
- Speed: Quickly bring multiple files directly into your project.
- Convenience: Avoid navigating complex file trees and menus manually.
- Organization: Easily place videos in the exact timeline spot you want them.
Final Thoughts
Learning how to drag videos into CapCut is a vital first step toward efficient video editing. Whether on desktop or mobile, the process is designed to be user-friendly, reflecting CapCut’s emphasis on accessibility. As you continue using CapCut, mastering this basic skill will help built a solid foundation for more advanced editing techniques.
Keep your software updated, work with supported video formats, and don’t hesitate to explore the platform’s many tools and features to elevate your editing projects. With a bit of practice, you’ll find CapCut is not only powerful but also incredibly intuitive.
