AI video editing used to feel like science fiction. Now it’s something you can learn in an afternoon. Runway ML is one of the most exciting platforms leading this change. It helps creators turn simple ideas into stunning videos with just a few clicks. But like any powerful tool, it works best when you know how to use it properly.
TLDR: Runway ML is a powerful AI video editing platform that every creator should explore. The best way to learn it is by watching focused tutorial guides that break down features step by step. This article covers five essential types of Runway ML tutorials you should watch, what you’ll learn from each, and why they matter. If you want better AI videos faster, these guides are your shortcut.
Let’s dive into the five Runway ML tutorial guides that can transform you from beginner to AI video wizard.
1. The “Getting Started with Runway ML” Beginner Guide
If you’re brand new, start here. Always.
This type of tutorial walks you through:
- Creating an account
- Understanding the dashboard
- Starting your first project
- Exporting your first AI-generated video
It sounds basic. But don’t skip it.
Runway’s interface is clean, but it has many powerful tools hidden behind simple buttons. A beginner guide explains what everything does. It saves you hours of confusion.
Most beginner tutorials also explain the difference between:
- Text-to-Video
- Image-to-Video
- Video-to-Video
- Motion Brush
Understanding these core tools changes everything.
Why this tutorial matters:
Without a solid foundation, advanced tricks won’t make sense. This guide gives you confidence. And confidence makes you experiment more.
What you should learn after watching:
- How credits work
- What resolution options mean
- How prompts affect output
- Where to find previous generations
Once you’re comfortable navigating the platform, you’re ready for the fun stuff.
2. The Ultimate Text-to-Video Prompt Engineering Tutorial
This is where magic happens.
Runway ML’s text-to-video feature lets you describe a scene and watch it come to life. But not all prompts are created equal.
A great tutorial in this category teaches you:
- How to structure prompts clearly
- Why details matter
- How to control camera movement
- How to define lighting and mood
For example, compare these prompts:
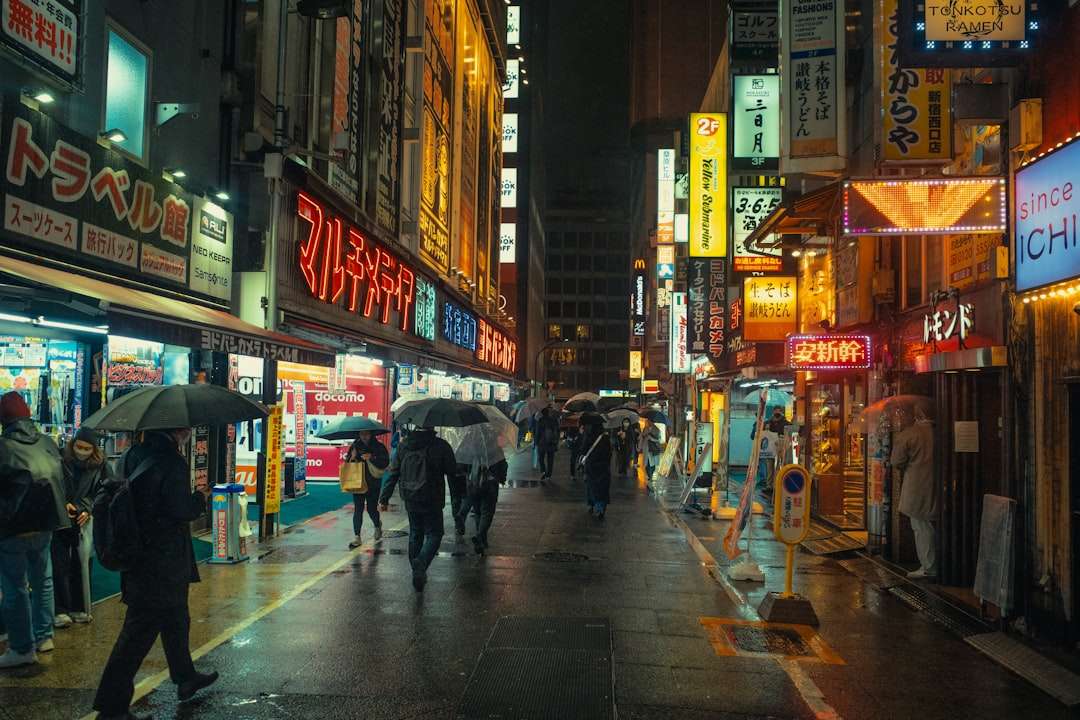
- “A man walking in the city.”
- “Cinematic shot of a man in a black trench coat walking through a rainy neon-lit Tokyo street at night, shallow depth of field, slow tracking camera.”
Huge difference.
Great tutorials break prompts into pieces:
- Subject
- Environment
- Style
- Lighting
- Camera movement
- Quality tags
This structure makes your videos look professional.
Why this tutorial matters:
Your results are only as good as your instructions. Prompt engineering is like learning a new language. Once you understand it, your creative control increases dramatically.
Pro tip you’ll often learn:
- Start simple.
- Improve step by step.
- Save successful prompts.
- Reuse structures that work.
This guide alone can level up your content instantly.
3. The Image-to-Video Animation Masterclass
Have a still image? You can make it move.
This is one of Runway ML’s most powerful features. And one of the most fun.
An image-to-video tutorial shows you how to:
- Upload artwork or photos
- Add motion instructions
- Create subtle camera movement
- Animate specific parts of an image
This is amazing for:
- YouTubers
- Short-form content creators
- Digital artists
- Marketers
You can turn:
- A static portrait into a dramatic cinematic shot
- A landscape photo into a slow aerial flyover
- An illustration into an animated scene
What great tutorials teach here:
- How to avoid unnatural distortions
- How to guide motion gently
- How to use subtle camera moves for realism
- How to combine multiple generations
Small movements often look better than dramatic ones.
This guide helps you stop overdoing effects. It teaches restraint. And restraint looks professional.
4. The Video-to-Video Style Transformation Guide
This is where creativity explodes.
Video-to-video lets you take existing footage and transform its style completely.
Imagine turning:
- A normal walking clip into anime
- A city scene into watercolor art
- A vlog into a cinematic sci-fi scene
This tutorial category focuses on:
- Uploading base footage
- Choosing strength levels
- Keeping motion consistent
- Avoiding flicker issues
One key lesson these guides teach is balance.
If the effect strength is too high, the video becomes chaotic. Too low, and nothing changes.
The best tutorials show side-by-side comparisons. They explain what settings were adjusted and why.
Why this tutorial matters:
Consistency is everything in video. If characters change faces every frame, your audience notices. Learning how to control transformation strength keeps your result usable.
Many creators use this technique for:
- Music videos
- Creative ads
- Experimental reels
- Art projects
This is where AI stops being a gimmick and becomes an art tool.
5. The Full Workflow “From Idea to Finished Video” Tutorial
This type of guide ties everything together.
Instead of focusing on one feature, it shows a real project from start to finish.
These tutorials typically include:
- Brainstorming the idea
- Writing prompts
- Generating clips
- Fixing mistakes
- Editing clips together
- Adding music and sound
- Exporting final video
This is incredibly valuable.
You see the mistakes. You see the fixes. You see the creative decisions.
Why this tutorial matters:
Tools are one thing. Workflow is another.
A full workflow guide teaches:
- How to stay organized
- How to name files
- How to manage credits
- How to refine without wasting generations
This is what separates hobbyists from serious creators.
Quick Comparison Chart
| Tutorial Type | Best For | Skill Level | Main Benefit |
|---|---|---|---|
| Getting Started Guide | Complete beginners | Beginner | Understanding the platform |
| Text-to-Video Prompt Guide | Creative storytellers | Beginner to Intermediate | Better AI-generated scenes |
| Image-to-Video Masterclass | Artists & marketers | Intermediate | Animating still visuals |
| Video-to-Video Transformation | Experimental creators | Intermediate | Stylized footage |
| Full Workflow Tutorial | Serious content creators | Intermediate to Advanced | Professional-level projects |
How to Get the Most Out of These Tutorials
Watching is not enough.
Follow along. Pause often. Try things yourself.
Here’s a simple learning strategy:
- Watch 10 minutes
- Test it immediately
- Break something
- Fix it
- Repeat
You’ll learn faster by experimenting than by just observing.
Also, save your best generations. Build a small library of prompts that work. Over time, you’ll develop your own style.
Why Runway ML Is Worth Learning Now
AI video is still new. That’s good news.
Platforms like YouTube, TikTok, and Instagram are not yet flooded with high-quality AI-native content. If you learn these tools now, you gain an advantage.
Runway ML lowers the barrier to filmmaking. You don’t need:
- Expensive cameras
- Big production crews
- Advanced editing software
You need creativity. And practice.
Each of the five tutorial types above builds a different layer of skill. Together, they create a powerful foundation.
Final Thoughts
AI video editing is not about replacing creativity. It’s about expanding it.
The best Runway ML creators are not just clicking buttons. They understand prompts. They understand motion. They understand workflow.
If you watch these five types of tutorial guides, and actually practice what they teach, you’ll move ahead quickly.
Start simple. Stay curious. Experiment fearlessly.
Runway ML is not just a tool. It’s a creative amplifier.
And now you know exactly which tutorials to watch first.