

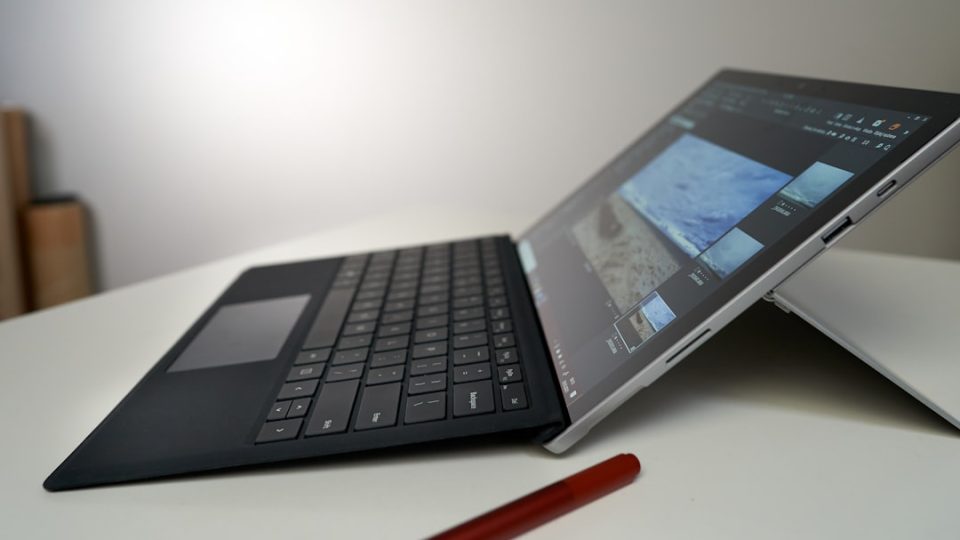
The Surface Pro has evolved into one of the most versatile devices in the Microsoft ecosystem, blending the portability of a tablet with the power and functionality of a laptop. As users switch between keyboard, pen, and touch input, knowing how to capture screenshots efficiently becomes essential. Whether for documenting work, saving online information, troubleshooting, or sharing content, understanding the various screenshot methods available on a Surface Pro ensures a smoother and more productive experience.
TLDR: Surface Pro offers multiple screenshot methods, including keyboard shortcuts, hardware button combinations, the Snipping Tool, Snip & Sketch, and the Surface Pen shortcut. Each method works best in different scenarios, depending on whether the device is used in laptop or tablet mode. Built-in Windows tools also allow users to edit, annotate, and share captures instantly, making the process flexible and efficient.
Keyboard Shortcut Methods
When a Surface Pro is connected to a Type Cover or external keyboard, traditional Windows keyboard shortcuts provide the fastest way to take screenshots.
1. Print Screen (PrtScn) Key
Pressing the PrtScn key captures the entire screen and copies it to the clipboard. Users can then paste the image into applications such as Paint, Word, or email by pressing Ctrl + V.
- Best for: Quick copying and pasting into documents or chats.
- Limitation: Does not automatically save the image as a file.
2. Windows + Print Screen
Pressing Windows + PrtScn captures the entire screen and automatically saves the screenshot as a file. The screen briefly dims to indicate a successful capture.
Images are saved in:
- Pictures > Screenshots folder
This method is especially useful when taking multiple screenshots that need to be archived for later use.
3. Alt + Print Screen
Pressing Alt + PrtScn captures only the currently active window rather than the entire screen. This is useful for isolating a specific application without additional cropping.
- Ideal for: Capturing dialog boxes, single applications, or focused content.
- Saves time: Reduces the need for post-editing.

Hardware Button Method (Tablet Mode)
When using the Surface Pro without a keyboard, it functions more like a tablet. In this case, physical buttons provide a convenient screenshot method.
To capture the screen:
- Press and hold the Power button.
- Press the Volume Up button at the same time.
The screen will dim briefly to confirm the screenshot. The image is automatically saved to the Pictures > Screenshots folder.
- Best for: Tablet-only use, presentations, or quick captures on the go.
- Note: Timing matters—buttons must be pressed simultaneously.
This method mirrors how screenshots are taken on many smartphones, making it intuitive for users transitioning from mobile devices.
Using the Snipping Tool
The modern Surface Pro runs Windows 10 or Windows 11, both of which include the updated Snipping Tool. This built-in application allows users to capture more customized screenshots.
How to Open Snipping Tool
- Search for Snipping Tool in the Start menu.
- Or press Windows + Shift + S to open the snipping toolbar instantly.
Snipping Modes
The Snipping Tool provides several options:
- Rectangular Snip – Drag to capture a rectangular area.
- Freeform Snip – Draw a custom shape.
- Window Snip – Capture a specific window.
- Full-screen Snip – Capture the entire display.
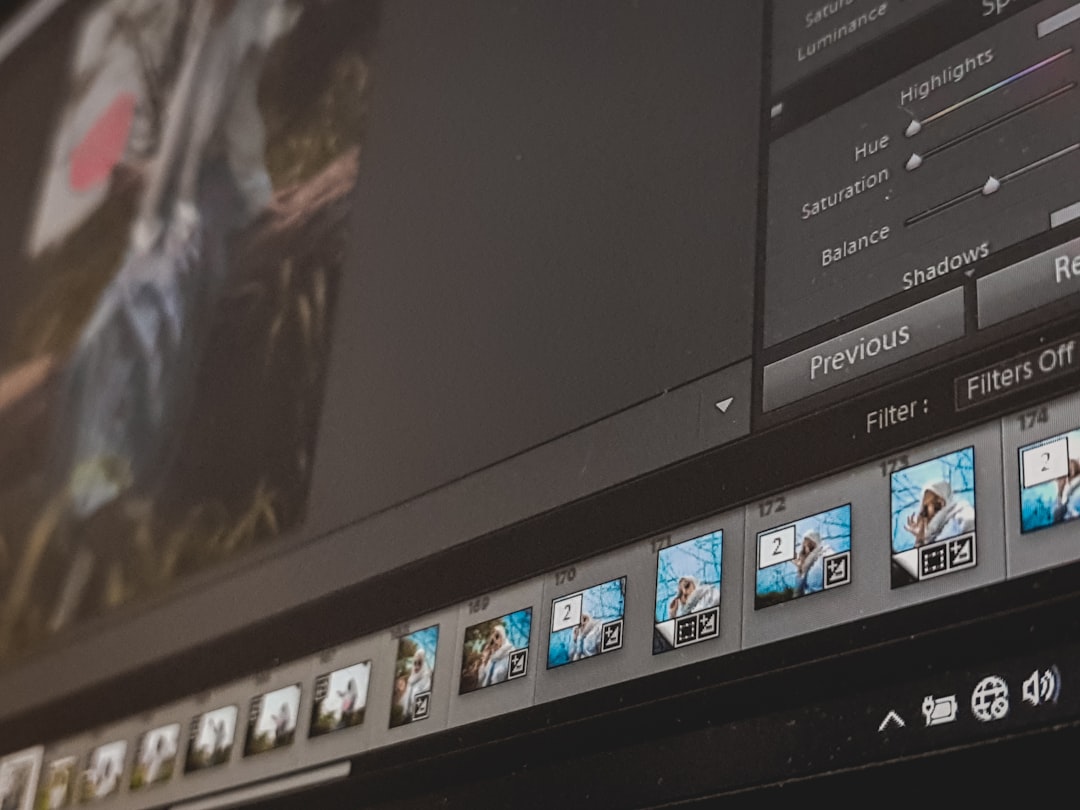
After capturing, the image appears in a notification. Selecting it opens an editor where users can crop, highlight, write notes, or save the file in various formats.
Image not found in postmeta
- Best for: Selective capturing and quick annotation.
- Advantage: Immediate editing without third-party software.
Snip & Sketch (Windows 10)
On devices still using Windows 10, Snip & Sketch is the predecessor to the updated Snipping Tool. The shortcut Windows + Shift + S works similarly, opening a toolbar at the top of the screen.
The tool allows:
- Instant sharing
- Drawing with pen or mouse
- Highlighting key details
- Cropping unwanted sections
Because the Surface Pro supports touch and pen input, Snip & Sketch pairs especially well with stylus-based workflows.
Taking Screenshots with the Surface Pen
One of the most powerful yet underutilized screenshot methods involves the Surface Pen. Users can configure the pen’s top button to launch screen snipping functionality.
How to Set Up Pen Shortcut
- Open Settings.
- Go to Bluetooth & Devices.
- Select Pen & Windows Ink.
- Customize the pen shortcut to open Snipping Tool.
Once configured:
- Click the pen’s top button to open the snipping interface.
- Select the desired capture area.
- Ideal for: Designers, note-takers, and educators.
- Advantage: Natural, precise selection using stylus input.
Where Screenshots Are Saved
Depending on the method used, screenshots may be:
- Copied to the clipboard
- Automatically saved in Pictures > Screenshots
- Opened directly in the Snipping Tool editor
Users who take frequent screenshots may consider organizing files into labeled folders to prevent clutter. Renaming files immediately after saving also improves workflow efficiency.
Editing and Annotating Screenshots
Surface Pro devices excel in editing thanks to touch and pen support. After capturing a screenshot, users can:
- Write notes directly onto the image
- Highlight important sections
- Crop or resize
- Insert shapes or arrows
- Share via email or messaging apps
For advanced editing, screenshots can be opened in applications such as Microsoft Paint, Photos, or other graphic editing software. The touchscreen enhances precision during editing tasks.
Common Troubleshooting Tips
Occasionally, users may encounter issues while capturing screenshots. The following solutions resolve most problems:
- Keyboard not responding: Ensure Type Cover is securely attached.
- Screenshot not saving: Check the Screenshots folder.
- Shortcut not working: Confirm Windows is updated.
- Pen shortcut failing: Verify Bluetooth connection and battery level.
Keeping Windows updated ensures access to the latest stability improvements and screenshot enhancements.
Choosing the Best Screenshot Method
The most suitable screenshot method depends on how the Surface Pro is being used:
- Laptop mode with keyboard: Windows + PrtScn or Alt + PrtScn
- Tablet mode: Power + Volume Up
- Selective capture: Windows + Shift + S
- Creative or annotated capture: Surface Pen shortcut
By mastering multiple methods, users can adapt fluidly between professional tasks, creative projects, and everyday use.
Frequently Asked Questions (FAQ)
1. Where do Surface Pro screenshots go?
Screenshots taken with Windows + PrtScn or hardware buttons are automatically saved in the Pictures > Screenshots folder. Other methods may copy the image to the clipboard or open it in an editor first.
2. How can a user take a partial screenshot?
Press Windows + Shift + S to open the Snipping Tool interface and select the desired area using rectangular or freeform snip options.
3. Can screenshots be taken without a keyboard?
Yes. Press Power + Volume Up simultaneously to capture the entire screen in tablet mode.
4. How does someone screenshot only one window?
Press Alt + PrtScn while the desired window is active. This captures only that window and copies it to the clipboard.
5. Can the Surface Pen take screenshots?
Yes. The pen’s top button can be configured in Settings to launch the Snipping Tool for quick and precise screenshot capture.
6. Why is the screenshot shortcut not working?
Users should check keyboard connections, ensure Windows is updated, verify that shortcut keys are enabled, and confirm that no third-party software is interfering.
7. Does Surface Pro support timed screenshots?
Yes. The Snipping Tool includes a delay feature, allowing users to set a timer before the screenshot is captured.
Understanding these screenshot methods empowers Surface Pro users to work more efficiently across different modes and workflows. Whether relying on quick keyboard shortcuts, hardware buttons, built-in Windows tools, or the versatile Surface Pen, the available options ensure that capturing the screen is always simple, flexible, and adaptable to the situation.