

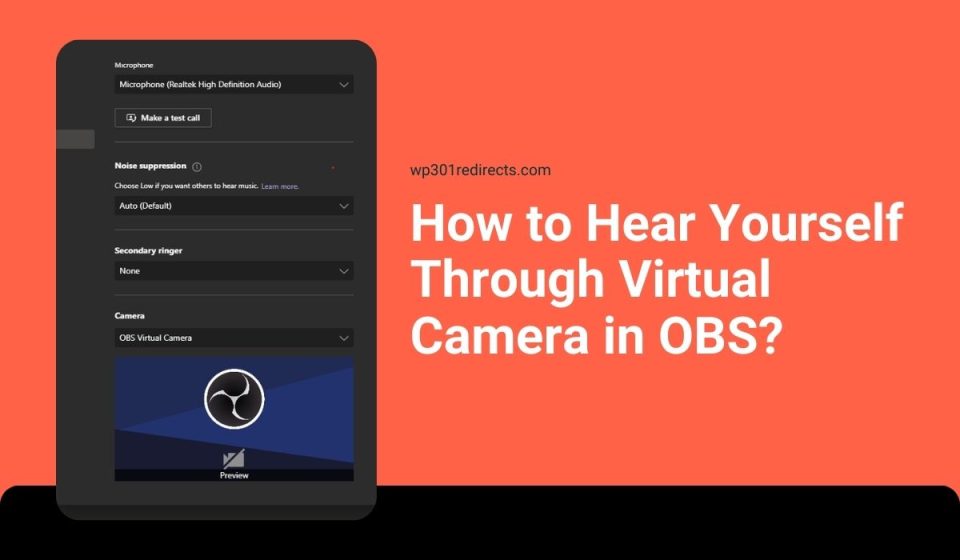
If you’re using OBS Virtual Camera for Zoom, Discord, or Google Meet and you can’t hear your own voice, it feels strange. You talk, but there’s no feedback in your headphones. Many users think Virtual Camera automatically handles audio monitoring. It doesn’t. OBS separates video output from audio monitoring settings. That means you must enable monitoring manually.
In this guide, you’ll learn how to hear yourself through OBS, how to select the correct monitoring device, and how to avoid echo or delay.
What Does “Hearing Yourself” Mean in OBS?
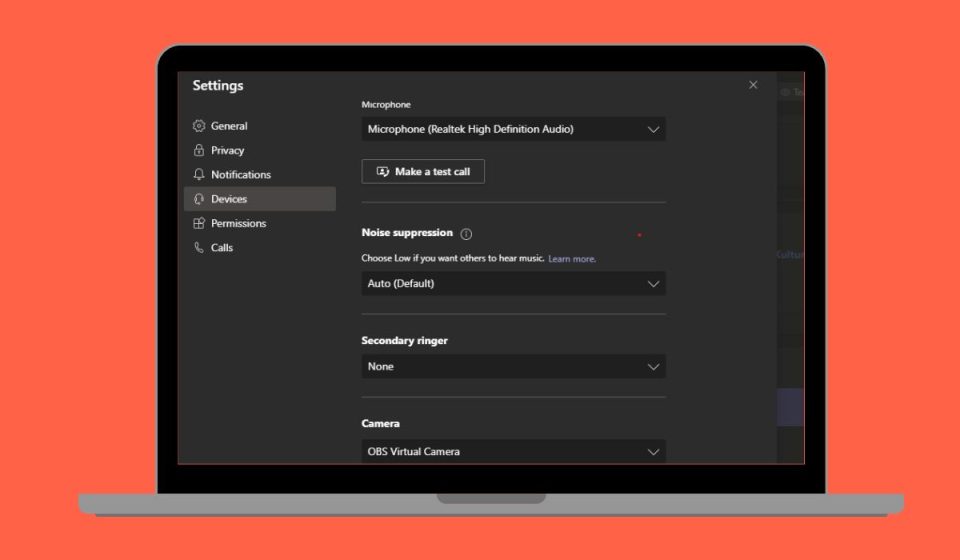
Hearing yourself in OBS means enabling audio monitoring for your microphone or desktop sound so it plays back through your headphones. OBS Studio includes an Audio Mixer panel and Advanced Audio Properties that control this behavior. When you choose Monitor Only or Monitor and Output, OBS sends the selected audio source to your monitoring device. This is different from streaming or recording audio. Monitoring is only for you. The Virtual Camera feature sends video to Zoom or Discord, but it does not automatically route monitored audio to your ears. If monitoring is disabled, your microphone may work for viewers, yet you won’t hear it locally.
You can find monitoring settings inside the Audio Mixer by clicking the gear icon next to your microphone source. You can also choose your monitoring device in Settings under the Audio tab.
Requirements Before Enabling Audio Monitoring
Before turning on monitoring, check your setup to prevent sound problems.
- OBS Studio updated to the latest version
- Headphones connected instead of speakers
- Microphone configured properly in OBS
- Correct monitoring device selected
- Desktop audio source working
A small configuration issue can cause silence or echo.
How to Hear Yourself Through Virtual Camera in OBS?
Follow these steps to enable microphone monitoring while using OBS Virtual Camera.
- Open OBS Studio.
- Click on Settings in the lower right corner.
- Go to the Audio tab.
- Under Advanced, locate Monitoring Device.
- Select your headphones from the dropdown list.
- Click Apply and then OK.
- In the Audio Mixer panel, click the gear icon next to your Microphone source.
- Choose Advanced Audio Properties.
- Under Audio Monitoring, select Monitor and Output.
- Close the window.
- Click Start Virtual Camera.
Now, when you speak into your microphone, you should hear your voice in your headphones.
How to Prevent Echo or Delay?
Monitoring can cause echo if your speakers play the sound back into the microphone. This creates a loop.
- Use headphones instead of speakers
- Lower the monitoring volume in OBS
- Make sure Zoom or Discord is not also monitoring your mic
- Disable duplicate audio sources in OBS
- Check that only one microphone input is active
If you hear delay, it may relate to buffer size or audio interface latency. Using hardware monitoring from an audio interface can reduce delay.
How to Monitor Desktop Audio as Well?
You can also monitor desktop audio such as game sound. In the Audio Mixer, click the gear icon next to Desktop Audio. Open Advanced Audio Properties and set Audio Monitoring to Monitor and Output. This allows you to hear game sound in your headphones while streaming through Virtual Camera. Make sure you are not monitoring the same source twice. If your meeting app like Zoom also captures system audio, disable duplicate sources to prevent feedback.
Conclusion
Hearing yourself through Virtual Camera in OBS requires enabling audio monitoring and selecting the correct monitoring device. OBS does not activate this automatically. You must configure it in Settings and Advanced Audio Properties. Once set correctly, you can monitor your microphone and desktop sound without issues.
Before going live or joining a meeting, test your monitoring setup. Speak into the mic and check levels in the Audio Mixer. If this guide helped you, share it with other creators and leave a comment about your setup.