


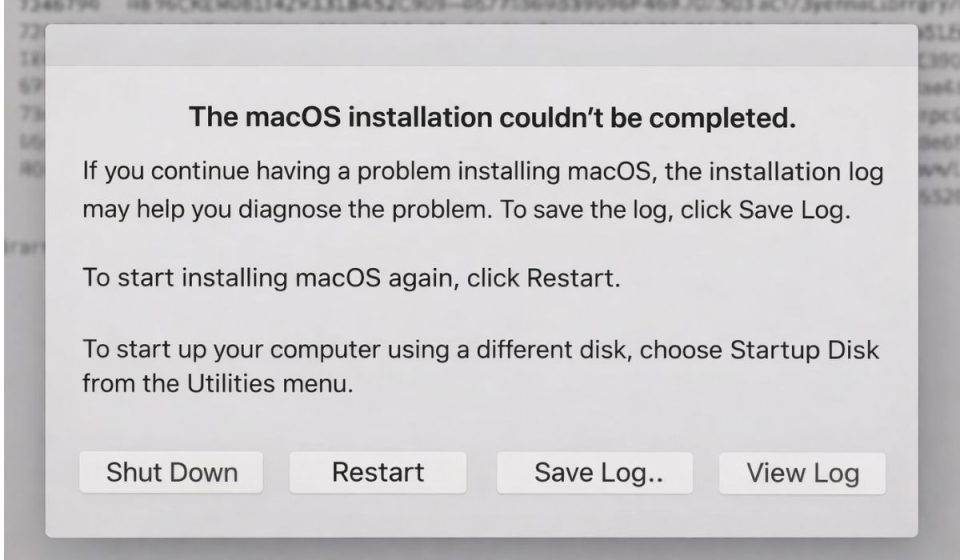
You start installing macOS on your MacBook, iMac, or Mac mini, but the process suddenly stops. The screen shows a message that says macOS installation couldn’t be completed. The installer closes and the system refuses to finish the update.
This problem usually appears during a macOS upgrade or when reinstalling the operating system from macOS Recovery. In this guide, you will learn what the error means, why it happens, and several simple ways to fix the installation so your Mac can complete the setup successfully.
What Does “macOS Installation Couldn’t Be Completed” Mean?
During a macOS installation, the macOS installer downloads system files from Apple servers, verifies them, and writes the operating system to the Mac’s startup disk, usually called Macintosh HD. The installer also prepares system volumes, checks compatibility with the Mac hardware, and verifies disk permissions. If any part of this process fails, the installation stops and the message macOS installation couldn’t be completed appears.
This may happen when installation files become corrupted, when the startup disk has errors, or when the system cannot verify downloaded files from Apple servers.
Users often see this message on the macOS installation screen during an upgrade, after restarting the Mac during setup, or when installing macOS through Recovery Mode. Sometimes the Mac may restart repeatedly and return to the installer instead of finishing the operating system installation.
Common Causes of the macOS Installation Error
Several issues may prevent macOS from finishing the installation process. Most of them involve disk storage, network connectivity, or corrupted installer files.
Common causes include:
-
Corrupted macOS installer files
-
Not enough free storage on Macintosh HD
-
Unstable internet connection during download
-
Disk errors in the APFS volume
-
Incompatible macOS version for the Mac model
-
Interrupted installation process
-
Temporary problems with Apple software update servers
How to Fix “macOS Installation Couldn’t Be Completed”
Different Mac systems encounter this problem for different reasons. The following solutions help repair disk issues, refresh the installer, or restart the macOS installation process.
Fix 1 – Restart the Mac and Try Installation Again
Sometimes the macOS installer stops because of a temporary system glitch.
Follow these simple steps to restart the installation.
-
Click Restart on the Mac.
-
Allow the system to boot normally.
-
Open the macOS installer again.
-
Start the installation process.
If the error occurred due to a temporary interruption, the installer may complete normally after restarting.
Fix 2 – Check Available Storage Space
macOS requires several gigabytes of free space to install system files. If the startup disk does not have enough storage, the installation may fail.
Here’s how you can check storage space.
-
Open Disk Utility from the installer menu.
-
Select the startup disk or Macintosh HD.
-
Check the available storage space.
-
Remove unnecessary files if storage is too low.
-
Restart the installation.
Freeing disk space allows the macOS installer to copy system files without interruption.
Fix 3 – Repair the Startup Disk Using Disk Utility
Disk errors or corrupted partitions may prevent macOS from writing installation data.
Follow the steps below to repair the disk.
-
Restart the Mac.
-
Hold Command + R to enter macOS Recovery Mode.
-
Open Disk Utility.
-
Select the startup disk.
-
Click First Aid.
-
Run the disk repair process.
After the repair completes, exit Disk Utility and try installing macOS again.
Fix 4 – Reinstall macOS from Recovery Mode
Reinstalling macOS through Recovery Mode downloads a fresh version of the operating system from Apple servers.
You can perform the following steps to reinstall macOS.
-
Restart the Mac.
-
Hold Command + R while the system starts.
-
Open macOS Utilities.
-
Select Reinstall macOS.
-
Choose the startup disk.
-
Start the installation.
This process replaces damaged system files and installs a clean version of macOS.
Fix 5 – Reset NVRAM on the Mac
The NVRAM (Non-Volatile Random Access Memory) stores system settings related to startup disks and system configuration. Resetting it can fix installation problems.
Try these steps to reset NVRAM.
-
Shut down the Mac.
-
Turn it on again.
-
Immediately press Option + Command + P + R.
-
Hold the keys for about 20 seconds.
-
Release the keys and allow the Mac to restart.
After resetting NVRAM, run the macOS installer again.
Fix 6 – Reset the System Management Controller (SMC)
The SMC controls hardware functions such as power management and thermal control. If the controller behaves incorrectly, installation processes may fail.
Follow these steps to reset SMC.
-
Shut down the Mac completely.
-
Press Shift + Control + Option + Power button together.
-
Hold the keys for several seconds.
-
Release them and start the Mac normally.
After resetting the controller, try installing macOS again.
Fix 7 – Download a New macOS Installer
Sometimes the installer file becomes damaged during download.
You can perform the following steps to download a fresh installer.
-
Open the Apple App Store.
-
Search for the macOS version you want to install.
-
Download the installer again.
-
Run the new installation file.
A fresh installer ensures that the installation package is complete and verified.
Fix 8 – Install macOS Using a Bootable USB Installer
If the normal installation process fails repeatedly, installing macOS from a bootable USB drive can solve the issue.
Follow these steps to install macOS using a USB installer.
-
Create a bootable macOS installer using another Mac.
-
Insert the USB drive into the affected Mac.
-
Restart the Mac while holding the Option key.
-
Select the USB installer drive from the startup menu.
-
Start the macOS installation.
This method bypasses corrupted installer files stored on the system.
Prevention Tips to Avoid macOS Installation Errors
Preventing installation problems helps keep the Mac system stable during updates.
Helpful tips include:
-
Maintain enough storage space on the startup disk
-
Keep the Mac connected to a stable Wi-Fi network
-
Back up important data using Time Machine before installing macOS
-
Check disk health regularly using Disk Utility
-
Download macOS only from official Apple sources
-
Avoid interrupting the installation process
-
Keep the Mac updated with regular software updates
These practices reduce the chances of encountering macOS installation failures.
Conclusion
The message “macOS installation couldn’t be completed” appears when the macOS installer cannot finish installing the operating system on the startup disk. The problem may be caused by disk errors, insufficient storage space, corrupted installer files, or network issues during download.
Most Mac users solve the issue by repairing the startup disk with Disk Utility, reinstalling macOS through Recovery Mode, or downloading a fresh installer from the Apple App Store. If the installation still fails after trying these solutions, contacting Apple Support may help identify deeper hardware or system issues.
If this guide helped you complete your macOS installation, consider sharing it with other Mac users. You can also leave a comment explaining which solution worked for your Mac system.