

Seeing “Error 1005 – Access Denied” on a website can be frustrating. You try to open a page, but Cloudflare blocks you. This error usually appears when your IP address gets restricted by Cloudflare security rules. It can happen because of a VPN, firewall policy, or IP reputation issue. The website itself may still be working for others.
In this guide, you’ll learn what Error 1005 means, why it happens, how to fix it step by step, and how to prevent it in the future.
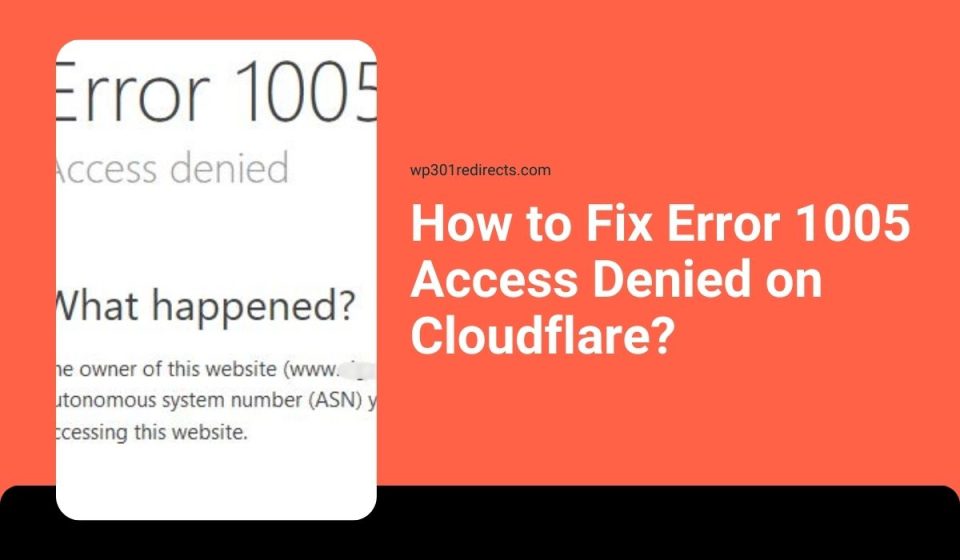
What Is Error 1005 Access Denied?
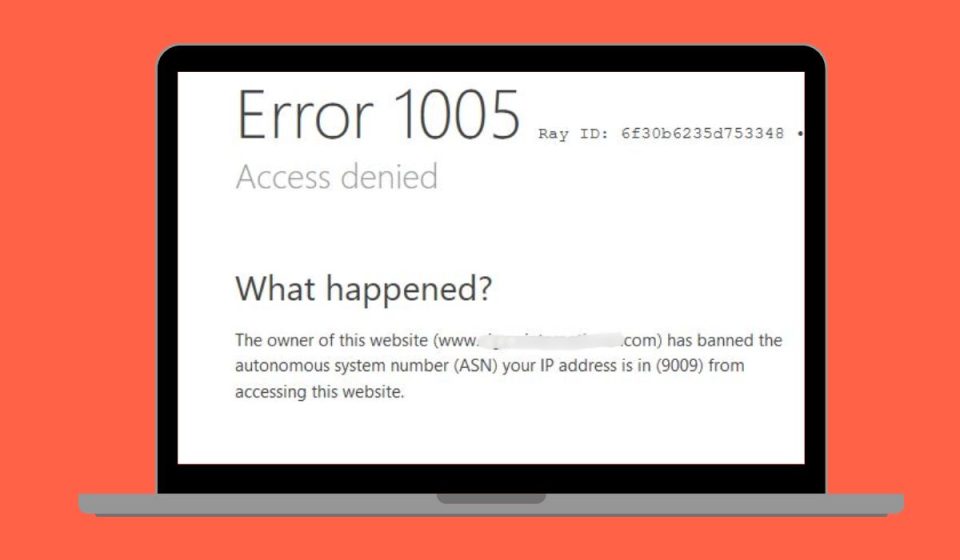
Error 1005 is a security block triggered by Cloudflare. Cloudflare acts as a reverse proxy and Web Application Firewall between users and the website server. It checks incoming requests using firewall rules, IP reputation databases, rate limiting systems, and geo-blocking filters. If your IP address looks suspicious or matches a blocked region, Cloudflare denies access immediately. This decision may depend on VPN usage, shared IP abuse, bot detection signals, or automated traffic patterns. The block happens before the request even reaches the website’s origin server. That means the website owner may not directly control the specific block without reviewing Cloudflare firewall settings.
You usually see this message in your browser along with a Cloudflare Ray ID. The page shows “Access Denied” and may mention that your IP address has been restricted.
Common Causes of Error 1005
This error usually happens because Cloudflare security rules block your connection. Below are the most common causes.
- Using a VPN or proxy server
- Shared IP address flagged for abuse
- ISP IP range blocked by firewall rules
- Too many requests triggering rate limiting
- Geo-restriction or country-level block
- Corrupted browser cookies or session data
- Suspicious traffic detected by Cloudflare WAF
If one of these conditions is detected, Cloudflare denies access automatically.
How to Fix Error 1005 Access Denied
To resolve this issue efficiently, check your network settings and browser configuration first. In most cases, one of the fixes below restores website access.
Fix #1: Disable VPN or Proxy
VPN services often use shared IP addresses that may have poor reputation.
Follow the steps below to easily disable VPN.
- Open your device Settings.
- Go to Network or VPN section.
- Turn off active VPN connection.
- Disable any proxy settings.
- Refresh the website page.
If the VPN IP was blocked, disabling it usually restores access.
Fix #2: Restart Your Router to Get a New IP
Many internet providers assign dynamic IP addresses.
Here are the following steps which help you refresh your IP.
- Turn off your router.
- Wait for 5 to 10 minutes.
- Turn the router back on.
- Reconnect to the internet.
- Try accessing the website again.
A new IP address may bypass the block.
Fix #3: Clear Browser Cache and Cookies
Corrupted cookies or old session data can trigger security blocks.
Try these simple steps to quickly clear browser data.
- Open your browser settings.
- Go to Privacy or History section.
- Select Clear browsing data.
- Choose Cookies and Cached files.
- Restart the browser.
Then visit the website again.
Fix #4: Flush DNS Cache
DNS cache stores previous network records. Sometimes outdated DNS entries create connection problems. Open Command Prompt on Windows and type ipconfig /flushdns, then press Enter. On macOS, use the appropriate terminal command for DNS flush. After clearing the DNS cache, restart your browser and try accessing the site again. This refreshes domain resolution and removes old records.
Fix #5: Use a Different Network
If your current IP range is blocked, switching networks can help.
The following steps will show you how to test another connection.
- Disconnect from your current Wi-Fi.
- Use mobile data or another Wi-Fi network.
- Open the website again.
- Check if the error disappears.
If it works on another network, your original IP was likely blocked.
Fix #6: Check System Date and Time
Incorrect date or time can affect secure connections.
Perform the following steps carefully.
- Open system Settings.
- Go to Date and Time.
- Enable automatic time setting.
- Restart your browser.
Correct system time ensures proper SSL and security validation.
Fix #7: Contact the Website Owner
If none of the above fixes work, the block may be server-side.
Follow these steps when contacting support.
- Note the Cloudflare Ray ID shown on the error page.
- Copy your public IP address.
- Contact the website administrator.
- Provide Ray ID and IP details.
The website owner can review firewall rules inside the Cloudflare dashboard and whitelist your IP if necessary.
Prevention Tips to Avoid Error 1005 in Future
Preventing this error helps maintain smooth browsing. Because Cloudflare monitors IP reputation and suspicious activity, keeping your connection clean reduces blocks.
- Avoid suspicious VPN services
- Do not send repeated automated requests
- Keep your browser updated
- Avoid public proxy servers
- Restart your router occasionally
- Remove risky browser extensions
- Scan your device for malware
Conclusion
In short, Error 1005 Access Denied appears when Cloudflare blocks your IP address through firewall rules or security filters. This can happen due to VPN usage, shared IP abuse, geo-blocking, rate limiting, or suspicious traffic detection. The block occurs at the Cloudflare level before reaching the website server.
Try each fix step by step, starting with disabling VPN or refreshing your IP address. If the problem continues, contact the website administrator and share the Ray ID. If this guide helped you, leave a comment and share it with others facing the same issue.