

An Acer monitor showing a No Signal message can be frustrating—especially when your computer seems to be running just fine. Whether you’re working, gaming, or streaming, a blank screen can bring everything to a halt. The good news? In most cases, this issue is caused by a minor connectivity or configuration error that can be fixed in minutes.
TL;DR: Acer monitor “No Signal” errors are usually caused by loose cables, incorrect input selection, outdated drivers, or faulty ports. Start by checking physical connections, confirm the proper input source, and restart both your monitor and computer. If that doesn’t solve the problem, update your graphics drivers or test with different cables. Most cases can be resolved quickly without professional repair.
Below are 7 proven fixes that can help you restore your display quickly and get back to what matters.
1. Check All Cable Connections
The simplest fix is often the right one. A loose or disconnected cable is the most common cause of the “No Signal” issue.
Start by inspecting the following:
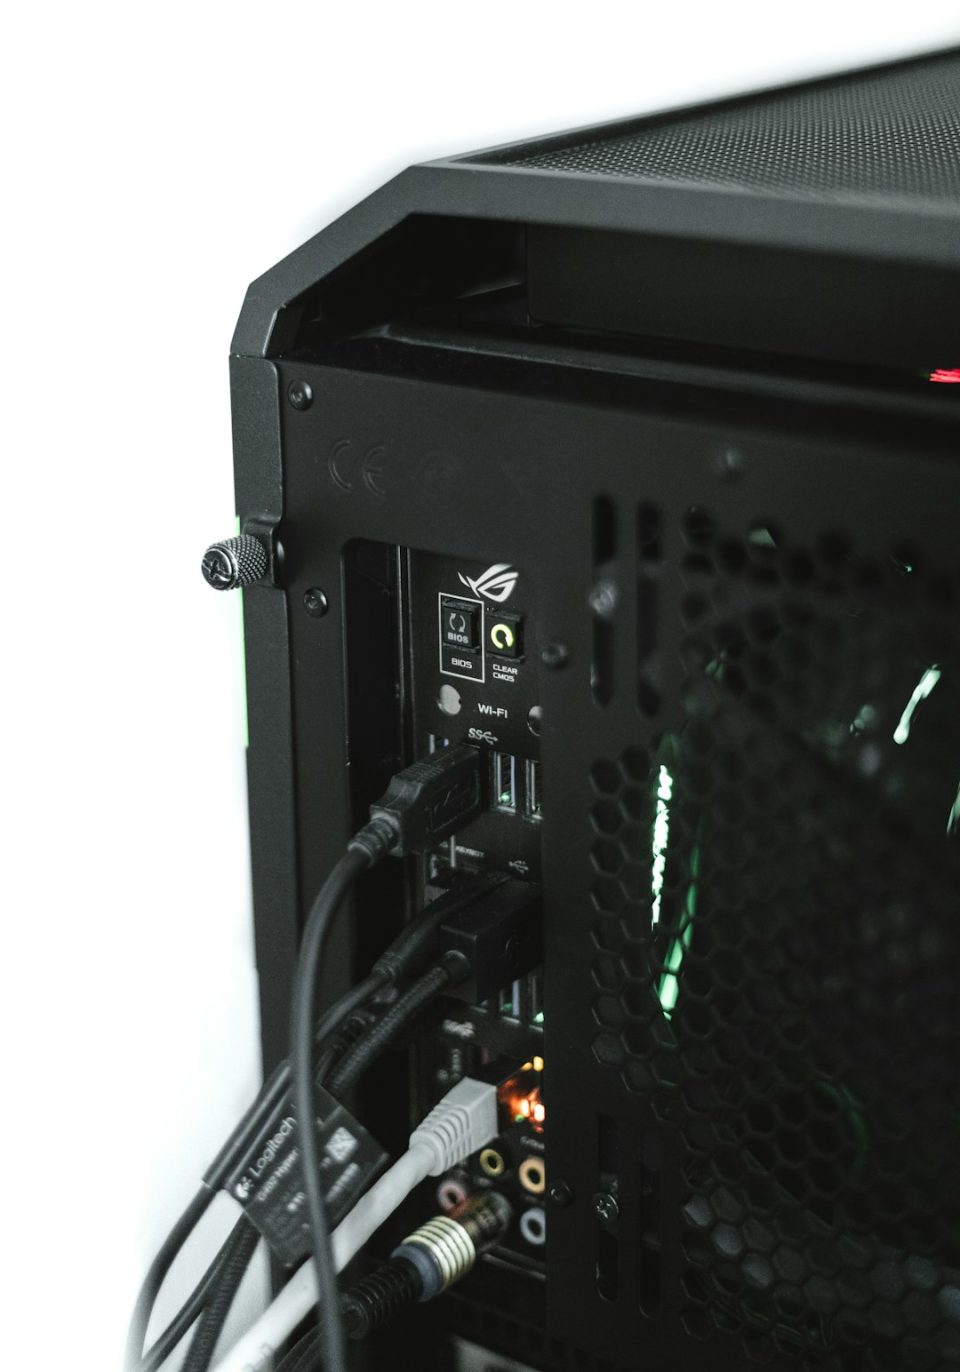
- Power cable connected securely to the monitor
- Video cable (HDMI, VGA, DVI, or DisplayPort) firmly plugged in
- No visible damage to cables or connectors
Unplug both ends of the video cable and reconnect them securely. If possible, test with a different cable to rule out internal damage.

If the monitor still says “No Signal,” move on to the next step.
2. Confirm the Correct Input Source
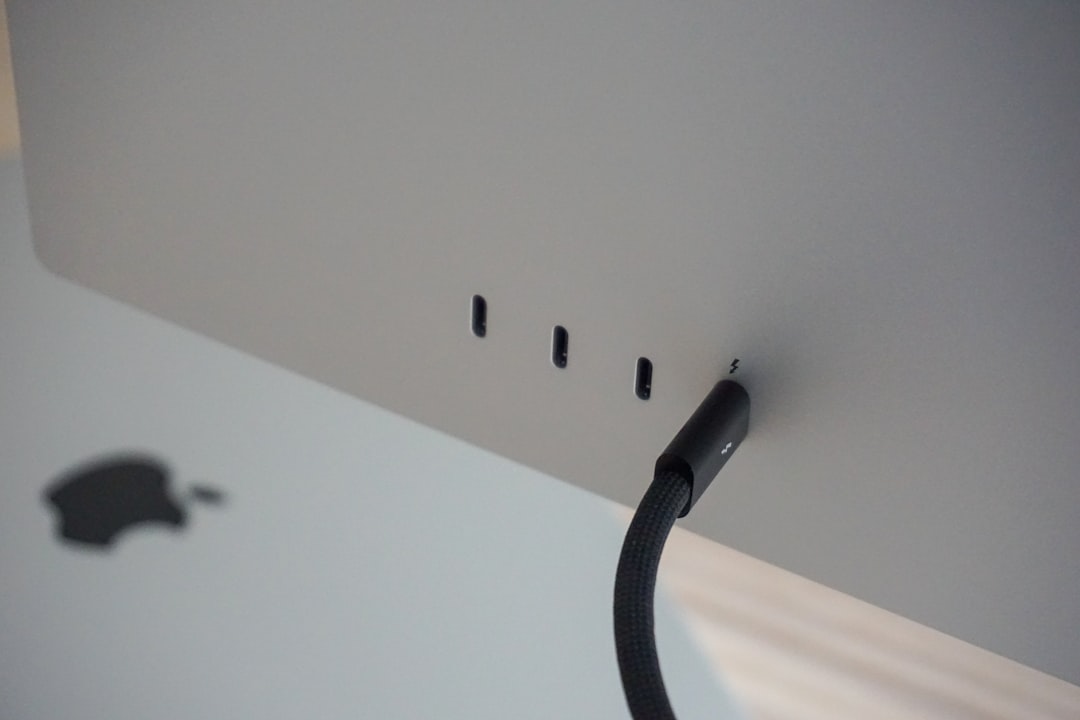
Modern Acer monitors support multiple input sources like HDMI, VGA, and DisplayPort. If the monitor is set to the wrong input, it won’t detect your computer signal.
To fix this:
- Press the Menu button on your monitor.
- Navigate to Input Source.
- Select the input that matches your cable connection.
For example, if you’re using an HDMI cable, ensure the monitor is set to HDMI—not VGA or DisplayPort.
This quick adjustment alone solves the issue more often than you might expect.
3. Restart Your Computer and Monitor
Glitches happen. A temporary system communication error between your computer and monitor can lead to a signal failure.
Follow this power reset process:
- Turn off your computer.
- Turn off and unplug the monitor.
- Wait for about 60 seconds.
- Reconnect everything and power both devices on.
This resets the hardware handshake process and often restores normal display functionality.
4. Test With Another Device or Monitor
If the problem persists, it’s time to isolate the issue. Is it your monitor—or your computer?
Try these troubleshooting tests:
- Connect your Acer monitor to another computer or laptop.
- Connect your computer to a different monitor.
Here’s how the results might guide you:
- If the Acer monitor works elsewhere: The issue is likely your computer or graphics card.
- If the monitor still shows no signal: The problem may lie within the monitor itself.
This method quickly narrows down the root cause.
5. Inspect and Reseat the Graphics Card
If you’re using a desktop PC, your graphics card might be loose or improperly seated.
Before proceeding, ensure your computer is completely powered off and unplugged.
Open the computer case and:
- Remove the graphics card carefully.
- Check for dust buildup.
- Reinsert it firmly into the PCIe slot.
- Secure it with screws.

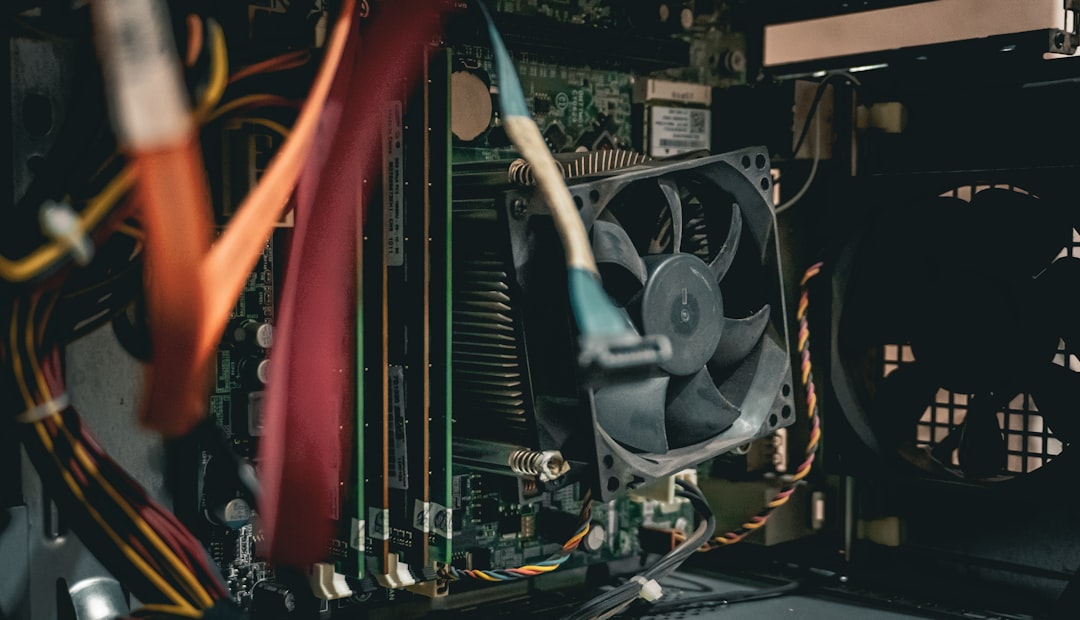
Also ensure your monitor cable is connected to the graphics card port, not the motherboard’s onboard video port (unless you are intentionally using integrated graphics).
A slightly dislodged GPU can absolutely cause a “No Signal” problem.
6. Update or Reinstall Graphics Drivers
Outdated or corrupted graphics drivers can interfere with signal output. This is especially common after Windows updates.
If you can access your system via another monitor or Safe Mode, try this:
- Go to Device Manager.
- Expand Display Adapters.
- Right-click your graphics device.
- Select Update Driver or uninstall and reinstall it.
If you cannot see any display at all, boot into Safe Mode by interrupting startup three times or using a recovery drive. Safe Mode loads basic drivers and may restore access.
Keeping drivers current ensures compatibility between hardware and operating systems.
7. Check Monitor Settings or Perform a Factory Reset
If none of the above works, your Acer monitor settings may be misconfigured.
Access the monitor menu and look for:
- Resolution settings
- Input auto-detection
- Factory reset option
Performing a factory reset can eliminate any accidental customization that might block signal detection.
Refer to your Acer monitor manual for exact reset steps, as they can vary by model.
Understanding Display Cable Types
Sometimes compatibility or performance issues depend on the cable you’re using. Here’s a comparison of common display cable types:
| Cable Type | Video Quality | Audio Support | Common Usage | Best For |
|---|---|---|---|---|
| VGA | Analog, lower resolution | No | Older PCs and monitors | Legacy systems |
| DVI | Digital, high quality | No | Older digital displays | Office setups |
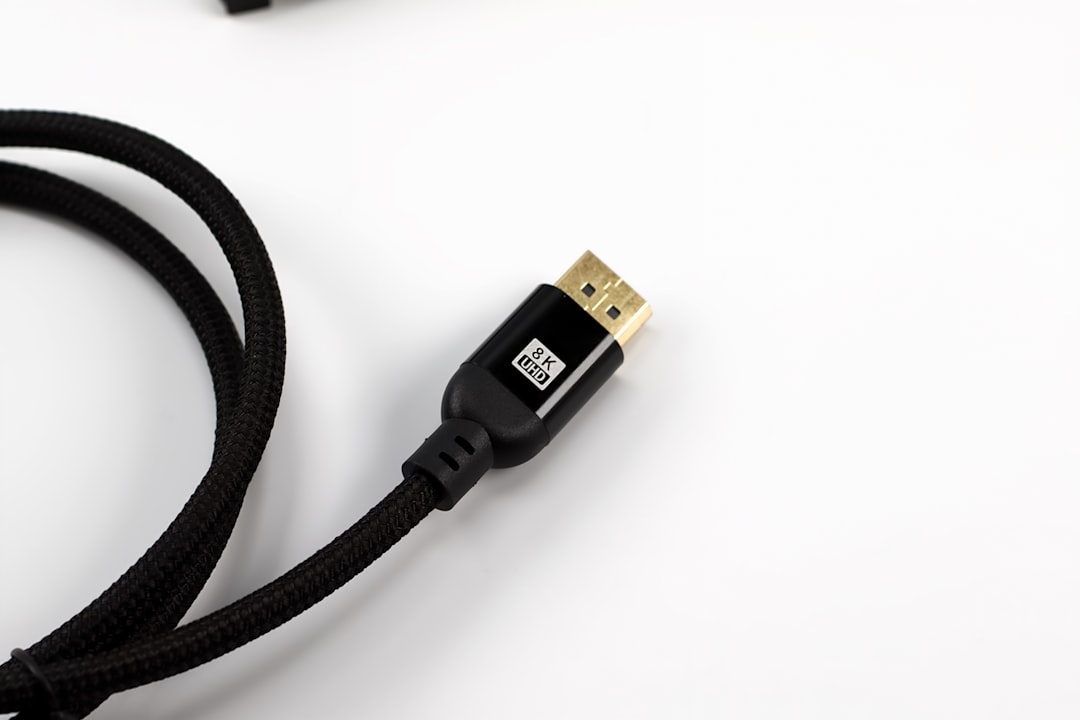
| HDMI | High definition | Yes | Modern PCs, TVs, consoles | Home and gaming |
| DisplayPort | Ultra high resolution | Yes | Professional monitors | High refresh rate gaming |
If possible, use HDMI or DisplayPort for the most reliable connection and performance.
Bonus: Signs Your Monitor May Be Failing
If you’ve tried all fixes and still see “No Signal,” your Acer monitor may have hardware failure. Watch for these warning signs:
- Flickering screen before total signal loss
- Backlight turning on but no image
- Buzzing sounds from inside the monitor
- Intermittent display problems
In such cases, contacting Acer support or considering replacement may be the next logical step.
Final Thoughts
An Acer monitor displaying a “No Signal” message isn’t always a sign of serious trouble. More often than not, it’s a simple issue like a loose cable, wrong input source, or outdated driver. By methodically working through these seven fixes, you can identify and correct the problem in a logical and efficient way.
Start with the basics—connections and input settings—before diving into advanced troubleshooting like graphics hardware and driver updates.
With patience and a step-by-step approach, you can restore your display quickly and avoid unnecessary repair costs. Technology glitches are inevitable—but being equipped with the right knowledge makes all the difference.